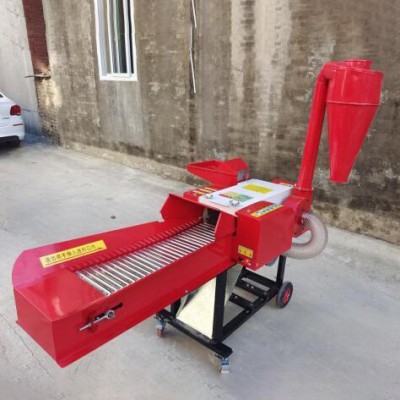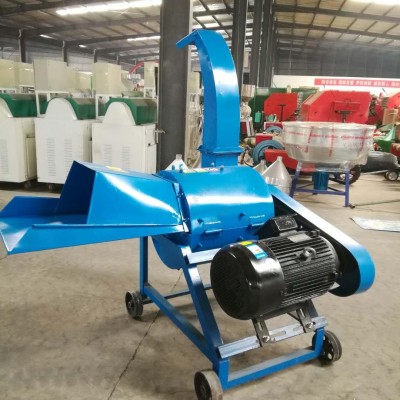
I. Preparation
1.1 Prepare new molds and tools.
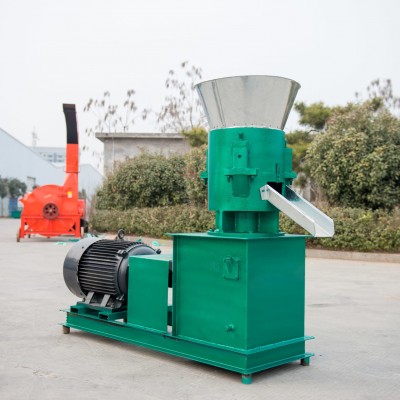
1.2 Turn off the power of the pellet machine, and clean and preheat the pellet machine at the same time.
1.3 According to the size of the pellet machine and the mold, determine the time required to replace the mold and arrange the production plan reasonably.
II. Removal of the old mold

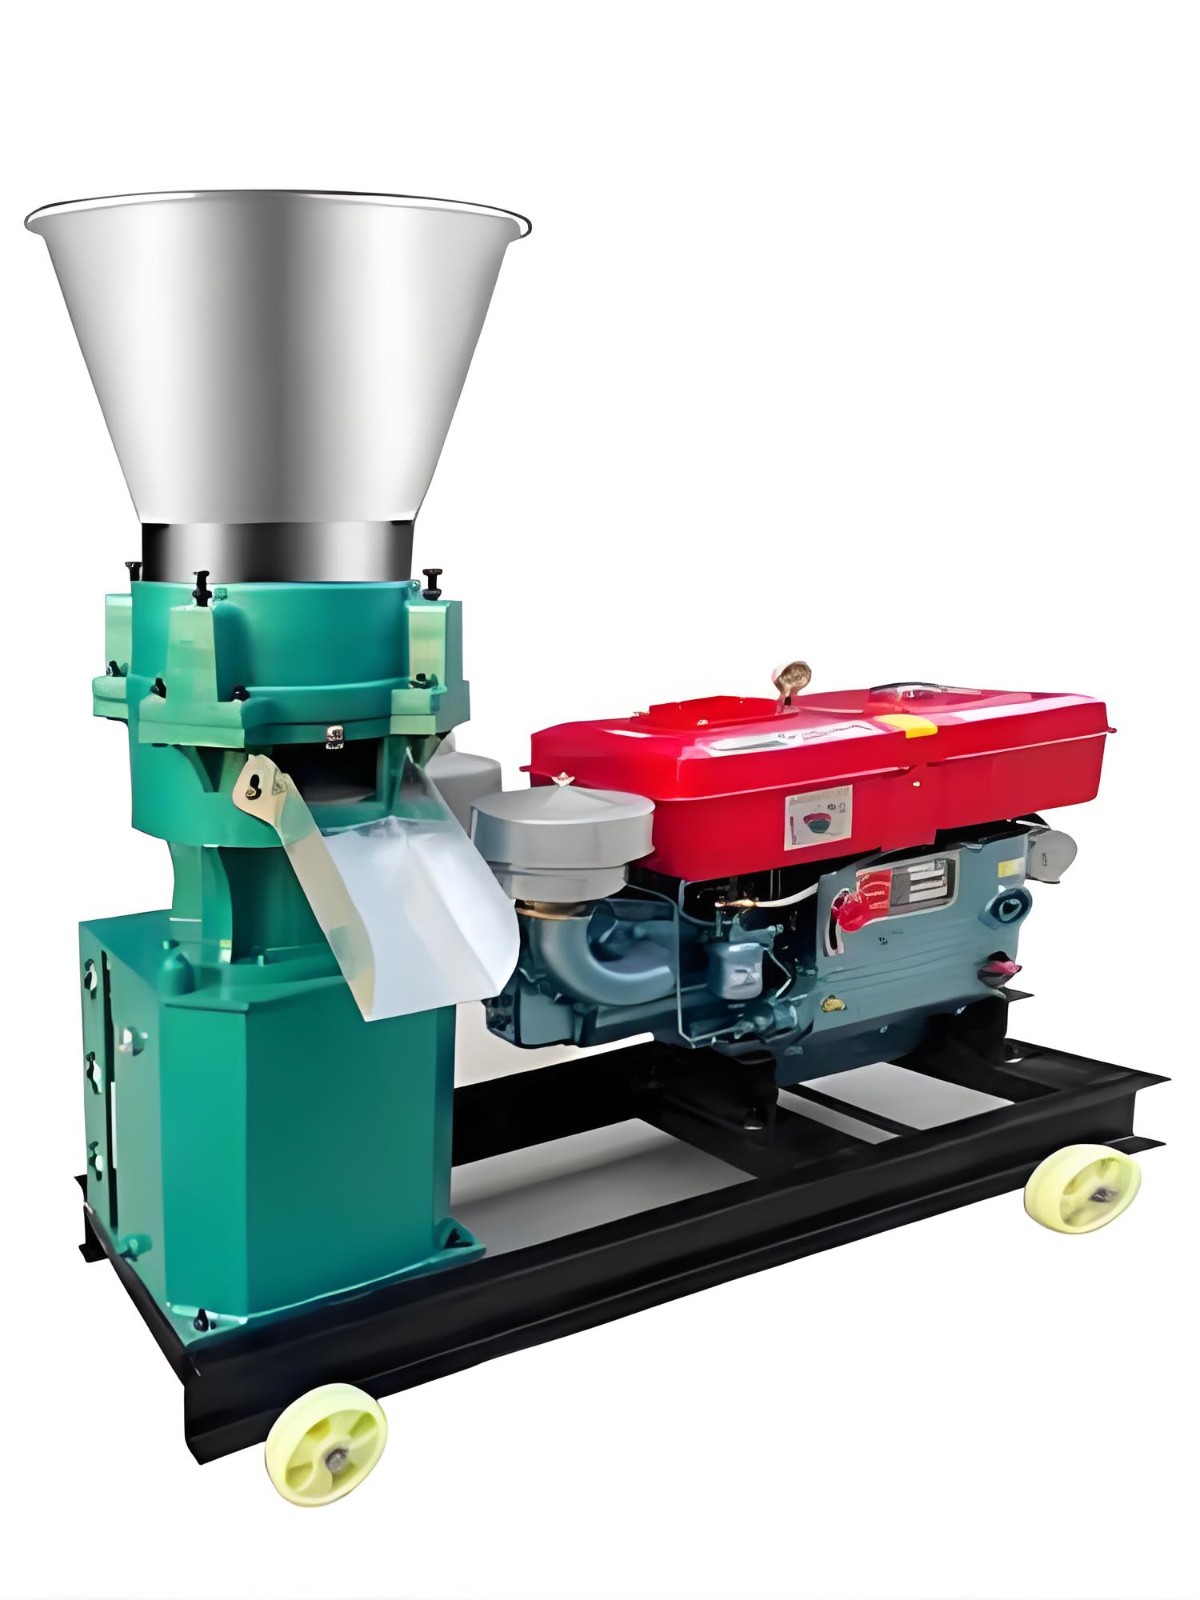
2.1 Remove the screws on the lower door of the pellet machine and open the door panel.
2.2 Loosen the adjustment screws of the conveyor to slowly move the conveyor away from the pressure wheel.
2.3 Use a screwdriver to remove all the screws on the multi-roller pressure wheel seat and remove the pressure wheel seat from the shaft.
2.4 Remove all four nuts on the four corners of the vibrating screen and then remove the vibrating screen.
2.5 Remove all screws that fix the mold and remove the old mold.
III. Install the new mold
3.1 Carefully check whether the size and model of the new mold are correct, and put the new mold on the pellet machine.
3.2 Use screws to fix the new mold on the pellet machine, and clean the cutter.
3.3 Adjust the adjustment screws of the conveyor to the center line of the pellet machine to ensure that the distance between the conveyor and the pressure wheel is appropriate.
3.4 Install the pressure wheel seat, restore all parts to their original positions, tighten all screws, put the door panel on the door frame, and tighten all door frame screws and nuts.
View document


 English
 日本
日本 한국인
한국인 Français
 Deutsch
 español
 Italiano
 Portugal
 Việt Nam
 türkiye
 عرب
عرب Русский
 čeština
 แบบไทย
 Eesti
Eesti Gaeilge
 Hmoob
Hmoob íslenskur
 Cymraeg
 български
 اردو
اردو Polski
 Hrvatski
 українська
 bosanski
 فارسی
فارسی lietuvių
 latviski
 עִברִית
 Română
 Ελληνικά
 dansk
dansk Magyar
 norsk
norsk Suomalainen
 Nederlands
 svenska
 slovenský
 Slovenščina
 हिंदी
हिंदी Indonesia
 Melayu
 Malti
Malti Kreyòl ayisyen
 català
 বাংলা
বাংলা Српски
 o'zbek


